
Setting up a Crystal Reports user is a two-step process:
Establish a Crystal Reports database connection
This two-part process must be completed for each user individually before he/she can create or modify Crystal Reports. Once the user account has been created and the database connection is established, the user will be able to log in and select the correct database connection under My Connections.
Account Creation
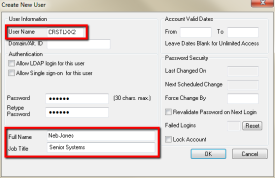
Hosted schools should follow the standard naming convention to create user names for accounts with access to create and edit Crystal Reports. Names should begin with "CRSTL", followed by your school ID and a numeral:
CRSTL + <School ID> + <0-9>
Your school ID is used as the last two letters of your SENIORXX (system administrator) account. For example, if your system administrator account is SENIORSS, your school ID is SS. Your Crystal Reports user names would be:
CRSTL + SS + <0-9>
For example:
CRSTLSS1
CRSTLSS2
CRSTLSS3
|
|
Note: Users cannot edit or create Crystal Reports with standard Ascendance or Citrix accounts, or the SENIORXX account assigned to your school. You must set up specific accounts for users to perform these tasks. |
Procedure
Create a new user name according to the user name standards:
CRSTL + <School ID> + <0-9>
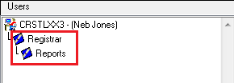
Once you have finished adding users, navigate to File > User Maintenance > Edit User Profiles.
In most cases, giving the user the Reports security key for the application(s) the user needs to access will be sufficient. Users will only need this account to create or make changes to Crystal Reports. Users can run reports with their normal credentials.
Repeat as needed. For a more detailed explanation of how to create a new user, see Section 10-7, Create a New User, in the System Administration Reference Guide.
Database Connection
You must establish a database connection for each Crystal Reports user individually as part of their initial setup before he/she can use Crystal Reports. You only need to set up their connection once. The user will then be able to select the correct database connection under My Connections.
Procedure
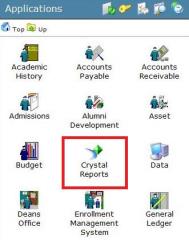
From the Citrix Senior Applications menu, click the Crystal Reports icon.
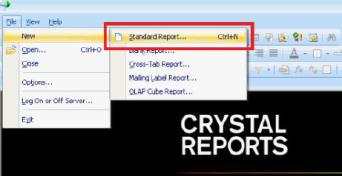
From the Crystal Reports Start Page, select File > New > Standard Report.
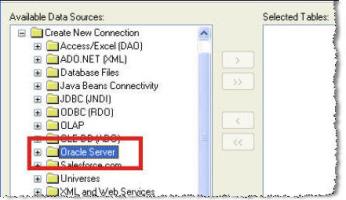
From the Available Data Sources list (left pane), click the expand button ( ) beside the Create New Connection folder. Then right-click the Oracle Server item and select Options.
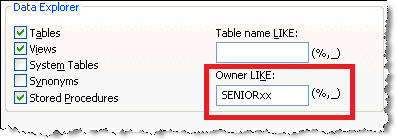
Within the Options window, enter your schema name in the Owner Like: field (i.e. SENIORXX; please contact Product Support if you are unsure what to enter here). Click OK.
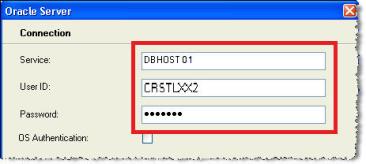
Next, double-click Oracle Server from the Available Data Sources list. Enter service name (provided by Senior Systems; please contact Product Support if you are unsure what to enter here) and the desired user ID and password for the new Crystal Reports user. Click Finish.
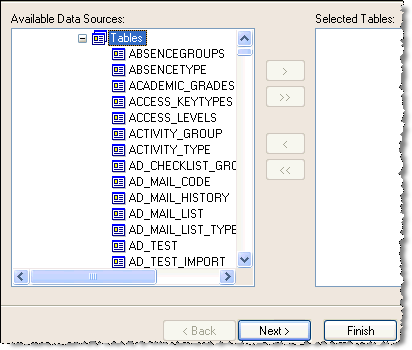
Once setup is complete, the data connection is established and the data tables are available. In future, the connection will be available to the user under My Connections.
 Cloud Services User Guide (for End User)
Cloud Services User Guide (for Sys Admin)
Toll-Free: 888-480-0102, option 1
Email: support@senior-systems.com